I am huge fan of the webcomic xkcd not only because of its intelligent take on many scientific, mathematical and physical phenomenon in a subtly humorous manner, but also due to it’s simple style where all the characters are stick figures. This helps one focus on the the message of the comic as well as helping its creator, the totally awesome Randall Munroe, publish new strips very frequently, satiating our need to not only procrastinate, but also not feel too bad about it. Also, if you don’t know who Randall Munroe is, google him right now. I mean now! Yes, stop reading and go google him and come back.
Back from our digression, I’ve noticed that the font used in xkcd is very curious. After some simple searching around, I found out that the font is Randall’s very own handwriting. What is cool about this font is the kerning involved. Kerning is nothing but the spacing between characters in text and this matters more than you would think. For example, take a look at the below strip, courtesy of Mr. Munroe:

Being a perfectionist is the worst thing on this planet, since after I discovered kerning, I now see it everywhere. Moreover, the fact that Randall’s handwriting follows very good kerning on the webcomic is a minor miracle, in my humble opinion.
Of course, the xkcd font was enticing enough that I started to have very strong desires to use this font on my system, and lo and behold, the font was actually available online on the ipython repository. So, now I shall describe to you how to use this amazing font on your own system to use with everything you wish to. The process below is specifically for Linux, though I imagine it should be far easier to install the font on Windows and macOS since they have much better font managers.
First things first, get the font! You can simply go to the repository and either download the single font xkcd-Regular.otf or download the whole repo in a zip file and extract that file. The other file xkcd.otf isn’t important so you can just leave it be.
The next step is to create a directory .fonts in your home folder. Thus the location of the directory is ~/.fonts. You want to now copy over the font file to this directory since Linux is aware of this directory as a possible source of fonts even though it may not have existed on your system a couple of minutes ago. Oh well.
Now the final step is to let Linux know that you want this font to be available system-wide. So we run fc-cache -fv to rebuild the entire font cache and make the xkcd font available to every application on your system. To confirm the font is installed, you can open up Font Viewer and check to see if the font is installed. The nice thing about the name xkcd is that it is unique and it will mostly be the last font on your system.
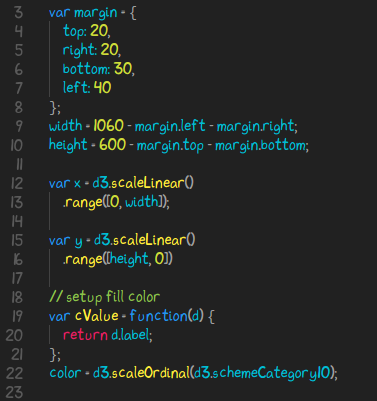
Time for an application. Let’s make VS Code super cool by making xkcd the default font. If you don’t use VS Code, you are seriously missing out on one of the best cross-platform editors available right now. Open up the settings page on VS Code and add this line to your user settings section
"editor.fontFamily": "xkcd, 'Droid Sans Mono', 'Courier New', monospace, 'Droid Sans Fallback'",
As you can see, xkcd is the first font in the list, so if it is correctly installed, VS Code will use it. Save the file and voila! Your text should now look like this
Pretty cool, huh? Hopefully you enjoy your fancy new font and read more of xkcd.
Eviva!
